By Rusty,

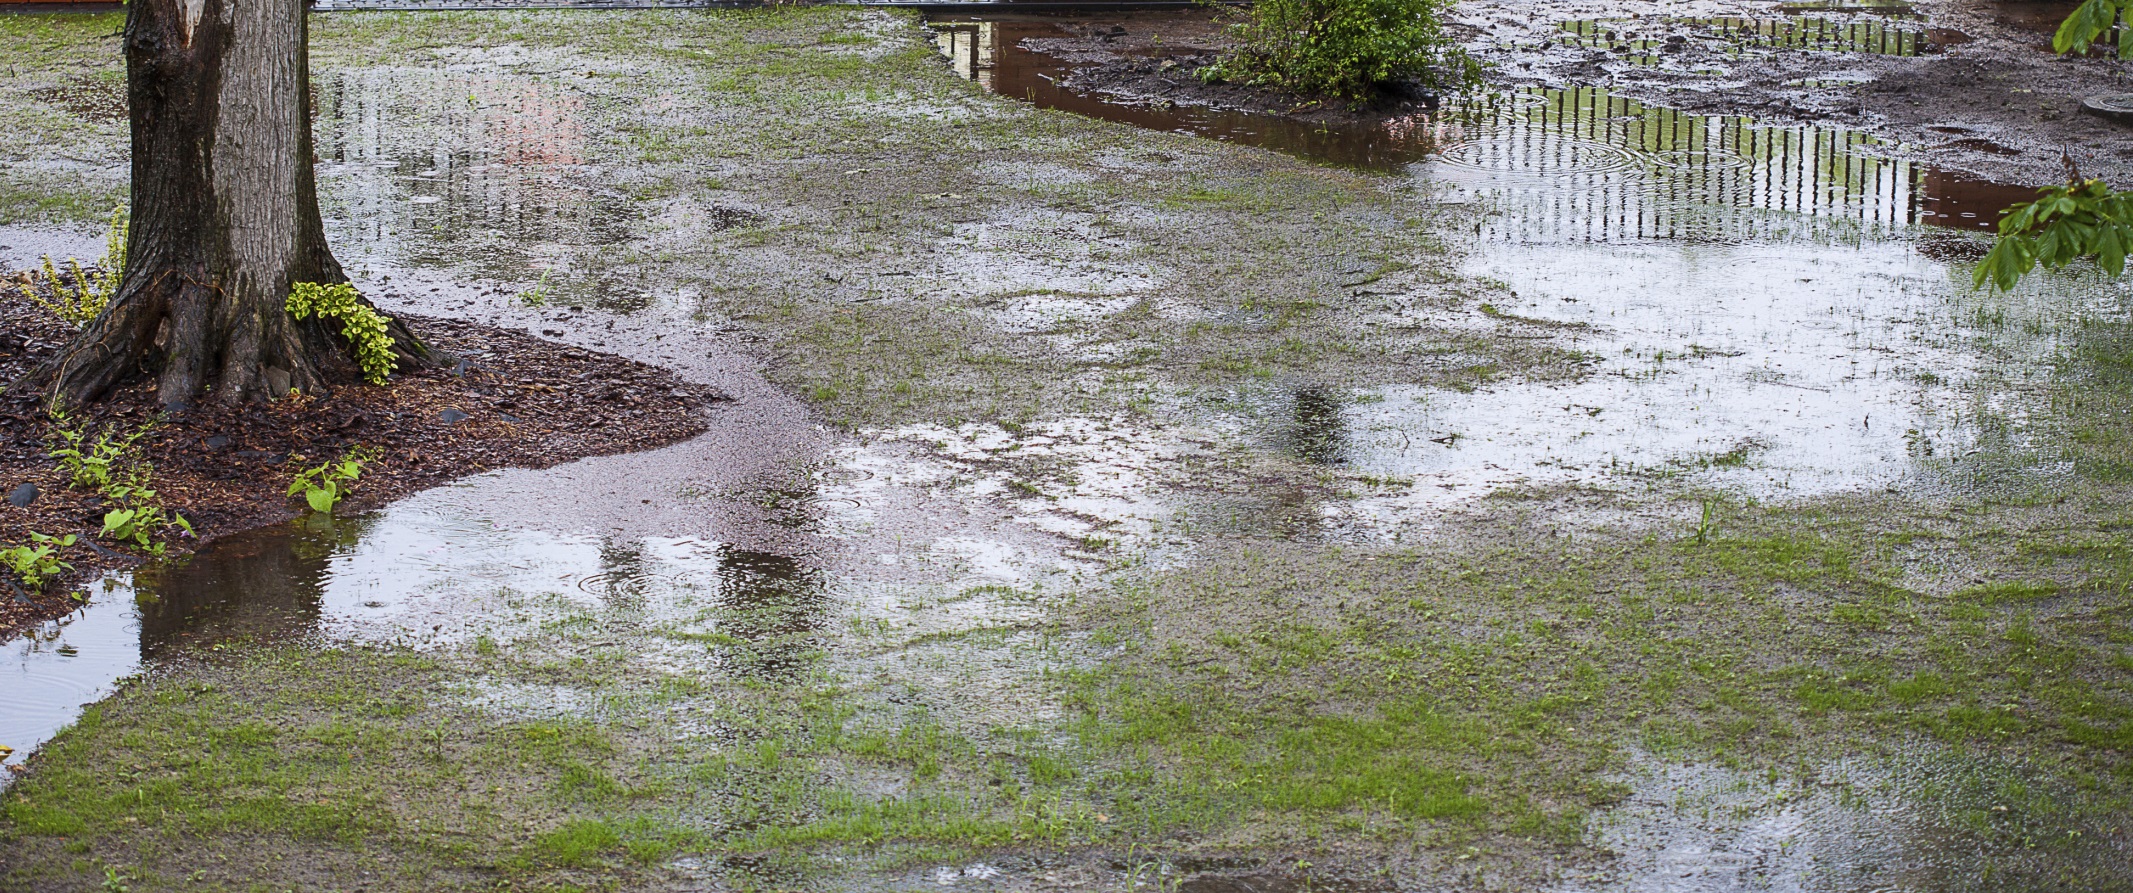
You don’t have to be a geophysicist to know that washed out mulch or a lake on the front lawn are signs of Gainesville drainage concerns, but here are some tips on how to recognize and resolve some of Gainesville's most common drainage problems. Solving drainage concerns when they’re smaller and easier to fix can save you thousands of dollars and future headaches, so be on the lookout these issues.

Tip #1: Downspouts That Dump

Each inch of rain that falls on 1,000 square feet of a roof produces 600 gallons of runoff—enough to fill 10 bathtubs. Dumping that much water too close to the foundation should cause concern anywhere, but especially in Gainesville - an area known for settling and foundation shifting. 

Some people add plastic gutter extensions to carry the water about 5 feet away from the house, which is better than right at the foundation. This is a temporary solution though, as they will fall off and aren't made very well. The better option is to install an underground gutter extension, carrying the water away from the foundation and dispersing it out into a safe area farther away from the home. (see a photo for example)

Tip #2: Overflowing Gutters

A mini waterfall over the edge of your gutter means something is causing them to back up and overflow. But you don’t need a live gusher to tell you you’ve got problems: Vertical streaks of dirt on the outside of gutters, mud spattered on siding, or paint peeling off the house in vertical strips are other sure signs. If you don’t take action, overflowing gutters can rot siding, ruin paint jobs, or in major cases cause structural damage.

If leaves are clogging the gutters or downspout, they just need to be cleaned out, which can be a DIY chore, or we can handle it for you. However, if your gutters are undersized or pitched incorrectly, we recommend calling a local gutter contractor. 

Tip #3: Migrating Mulch

When soil doesn’t drain properly, rain runs off in sheets causing erosion in the landscape, dumping dirt on pathways, and carrying piles of mulch where they don’t belong. This can be caused by having a slope to your landscape or improperly managed runoff water. 

These issues are usually resolved in several differing ways depending upon the layout of your landscape. Sometimes, creating a drainage system such as a french drain or dry well solve the concern. Other times, a simple berm  or swale to redirect the water flow is the answer. These are all solutions that we at TMLC are glad to assist you with should you need our help. 

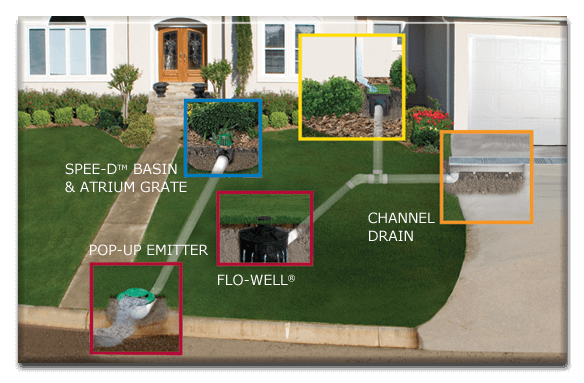
If you have any questions regarding Gainesville drainage systems, please don’t hesitate to contact us at 352-378-5296 or info@themasterslawncare.com.  I’d be happy to answer any of your questions or install a drainage solution for you.  Below are just a few of the solutions we use in landscape drainage.
Tags
By Rusty,

During the dry-spell in May, our phones were going crazy with irrigation questions, but as the summer has rolled in and the heavy rains with it - we get a lot of calls to solve Gainesville drainage concerns.

Do you have concerns about where the water run-off from your downspouts are washing away the soil at the foundation of your home?Do you have an issue with standing water sitting in areas of your Gainesville landscape?


This month's quick tip is on how to solve both of these problems correctly. Whether you hire us to install it or if you're handy you can do it yourself, but either way it's important information that many people have concerns about this time of year.

The first steps in planning out a drainage system are to know where the problems are coming from, and where you want the to be moved to. Many times, the answer is in making sure water from your roof and gutters don't become a problem in your foundation and landscape.

Three solutions that we regularly use in our drainage installations are the pop-up gutter drain, the french drain, and the dry well.

1. Pop-up Gutter Drains

The gutters that encircle your home’s roofline are great for collecting runoff water and preventing it from seeping into the ground next to your home’s foundation. But they won’t do you any good if the water is not successfully directed out of your downspouts and away from your home. Splash blocks may work for small amounts of water, but they won’t be able to handle a major downpour because the excess water just runs back to the foundation. Downspout extensions wcan also work with small amounts of water, but they can be unsightly and aren’t always practical.

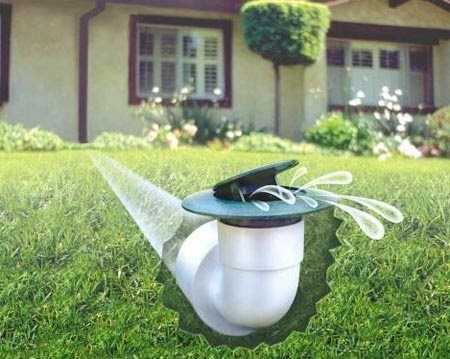
Here’s a solution: pop-up gutter drains. Instead of using a couple paragraphs to describe them, I'll just use a simple photo. As you can see below, a pipe is attached to the downspout and the water is taken underground and out away from the home into the lawn, where it pops up out of a small green emitter to water than landscape, but far enough away from the house not to worry about it affecting the home's foundation.

2. The French Drain

The most reliable way to eliminate undesirable, free-standing water is to install French drains with slotted pipes, filter fabric, and gravel. The old way of installing French drains was to do it without the gravel and the fabric. Without the gravel and the fabric, however, the drain can clog up with sand and soil over time.The best practice for installing French drains is to use perforated drainage pipes, which allow water to enter or exit through small openings along the pipe. The drain pipe and gravel create a void in the ground where the water can go and travel away from the area where it would puddle up and cause concern.

3.  The Dry Well

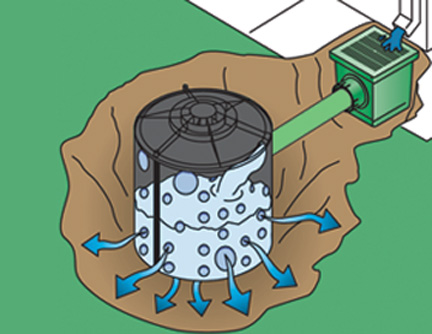
A dry well is an underground structure that disposes of stormwater runoff by dissipating it into the ground, where it merges with the local groundwater. Typically, the ones we use are cylinder shaped which act very similar to a french drain, except instead of the void being long and narrow, it's larger and disperses the water in one area of the lawn.

The basic goal of drainage is to protect your home and landscaping by moving the water from it's problem area (typically where your downspouts dispense rainwater) and move it away from the home. This is a fundamental part of having an effective landscape and protecting your most valuable investment - your home, Whether you're a Do-It-Yourselfer, or you plan on hiring a professional Gainesville Drainage Installer, we urge you to put it at the top of your list as tropical storm/hurricane season is upon us and that's the most important time to have a functioning drainage system. If you think you have drainage concerns with the little summer rains we've been experiencing, you do not want to see what a tropical storm can do.


If drainage is a concern in your lawn, please fill out the form above or contact our office at 352-378-5296 for a free Gainesville drainage solution consultation


Tags
By Rusty,

The Gainesville, Fl French drain installation is a simple, yet versatile construction which can be used to drain standing water from problem areas in your yard or basement. The process is fairly simple; it just requires a little preparation and planning, the right tools and materials, and a little DIY know-how. Start with Step 1 below for detailed instructions on how to build a French drain.

Part 1 of 2: Planning and Preparation


Build a French Drain Step 1 Version 2.jpg

Part 1 of 2: Planning and Preparation

1Look at underground safety. Before building a Gainesville drainage system in a specific area, you'll want to make locate all underground cables, pipes or other installations that could make digging dangerous in that particular spot.

  • Check with your municipal or public agencies to make sure you have a free area to construct your French drain. In the United States, you can call the 811 "call before you dig" hotline, which will connect you to your local call center.[1]
  • Also be sure to plan your drainage route so it runs at least a meter away from any walls or fencing, and try to avoid any posts, shrubs or tree roots.[2]Build a French Drain Step 2 Version 2.jpg
  1. 2 Check for any zoning or runoff issues. Some municipalities have rules on whether you can build or even dig on your own property.
    • In order to get your French drain project going, you may need to contact your local government office or board of officials. It may seem crazy, but even the smallest earth-moving projects can require complicated sign-offs by local government groups. Know the regulations and covenants in your neighborhood before you start planning anything.
    • You will also need to establish whether or not your French drain would cause hardship for neighbors in terms of groundwater runoff. Running excess water onto someone else's land could lead to a potential lawsuit.
    • Ideally the French drain should runoff in a relatively unused section of land, away from any buildings, into sandy soil which allows water to pass through easily.
     
  2. Build a French Drain Step 3 Version 2.jpg 3 Find a downhill slope. In order to work well, your French drain needs to be constructed on a slight downhill grade. This allows water to drain away from the problem area through the force of gravity.
    • If no natural downward slope exists, you create a slope by digging progressively deeper as you work your way along the trench. Experts recommend a 1-percent grade for the French drain to be effective. In other words, you should allow for a drop of one foot per every hundred feet of drainage (roughly one inch per ten feet of run).
    • Use landscaping paint to mark out the path of your proposed trench line, then use a couple of stakes, a length of string and a string level to gauge the incline from one end of the trench to the other.[2]
    • If you're not able to figure out the right pitch for your French drain on your own, you can hire a surveyor or other professional to help pin down the right dimensions and placement for your drain. You can still do the work yourself, but you may be more secure in the knowledge that someone else has signed off on the plan.
     
  3. Build a French Drain Step 4 Version 2.jpg 4 Gather your tools and materials. In order to build a Gainesville, fl French drain, you'll need to stock up on a few basic tools and materials. You will need:
    • A roll of water permeable landscape fabric: this will help to keep your drain pipe clean and avoid clogging by preventing soil, silt and roots from entering the drain.
    • A perforated plastic drain: the diameter of the drain will depend on the extent of the drainage problem and the size of the trench. You can opt for either flexible drain pipe, or for rigid PVC drain pipe (which is more expensive but sturdier and easier to unclog).
    • Washed drainage gravel: the number of bags will depend on the size of your drain. Use an online gravel calculator to get a rough estimate based on the depth and width of the planned trench.
    • Tools: If you plan on digging the trench manually, you will need a shovel. Otherwise, you can rent a trenching tool or hire a backhoe operator.


  Part 2 of 2: Building the Drain
  1. Build a French Drain Step 5 Version 2.jpg 1 Dig the trench. Digging the trench is the least complicated step in building a French drain, but it is the most labor intensive! Enlist the help of a family member, friend or neighbor if possible.
    • The width and depth of the drain you dig will depend on the severity of the drainage problem and the digging tool you're using. However, most standard French drains are approximately 6" wide and 18" to 24" deep.[3]
    • Trenching tools will cut wider trenches (which is ideal for more severe drainage issues) and will cut the digging time in half. However, using a trenching tool will also increase your costs as you'll need to pay for the rental and buy additional gravel to fill the larger trench.
    • The same goes for hiring someone to cut the trench for you with a backhoe, as backhoes cut very wide and deep trenches and will incur both labor and rental costs.
    • Periodically check the depth of the trench as you dig, to ensure it is consistently sloping downwards.
     
  2. Build a French Drain Step 6 Version 2.jpg 2 Line the trench with landscape fabric. Once you have finished digging the trench, you will need to line it with the water permeable landscape fabric.
    • Leave approximately 10 inches of excess fabric on either side of the trench.
    • Temporarily pin the excess fabric to the sides of the trench using pins or nails.
     
  3. Build a French Drain Step 7.jpg 3 Add the gravel. Shovel approximately 2 or 3 inches of gravel along the bottom of the trench, on top of the landscaping fabric.  
  4. Build a French Drain Step 8.jpg 4 Lay the pipe. Place the perforated drain pipe into the trench, on top of the gravel. Make sure the drain holes are facing down, as this will ensure the greatest drainage.[4]  
  5. Build a French Drain Step 9.jpg 5 Cover the pipe. Shovel more gravel over the pipe, until there is 3 to 5 inches between the gravel and the top of the trench.
    • Then unpin the excess landscaping fabric and fold it over the layer of gravel.
    • This will prevent any debris from entering the drain, while still allowing any water to filter through.[5]
     
  6. Build a French Drain Step 10.jpg 6 Fill in the trench. Fill in the rest of the trench with the displaced soil. At this point you can finish the trench in whatever way you like:
    • You can lay sod on top, reseed with grass or even cover with a layer of large, decorative stones.
    • Some people even build the drain pipe with a slight curve, so it looks like an intentional design feature upon completion.


Tags
By Anonymous (not verified),
If you’ve ever lived through an extreme weather event, then you know too much about Gainesville's stormwater runoff. I have distinct experiences watching my entire yard flood during major downpours last summer, and seeing the yard struggle with fungus and disease afterward due to the slow drainage.
Part of this was surely due to the fact that the Spring had dried out the land, and the neverending summer rains were too much for the land to absorb so quickly. The result was a huge torrent of water standing in everyone's yard waiting to run down the street and into the retention pond. 

One simple and straightforward way to encourage proper drainage is to make sure that the landscape of your garden is permeable, including your hardscaping, paths, decks, walkways, and driveways. Installing these areas as pavers or flagstone is much more helpful in stormwater drainage situations than poured concrete at the water is able to drain through the joints in the pavers or flagstones.    James Glover Residential & Interior Design

Driveways

No one wants an asphalt airstrip in front of the house, but we sometimes assume that dense paving is necessary to take the load of a carport or driveway. This isn’t always true. Many people have paver driveways that are not only very appealing but are helpful in desperate drainage situations. 
Patios and Decks

Pavements can take up twice as much area as our houses and are a main culprit in all kinds of environmental problems, including polluted runoff, depleted groundwater, high temperatures, unnecessary erosion and stunted tree growth. 

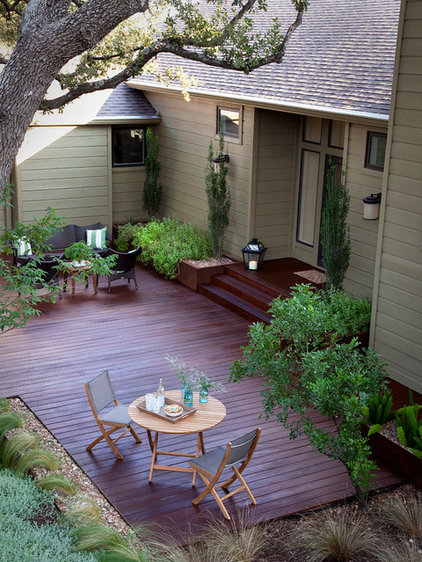
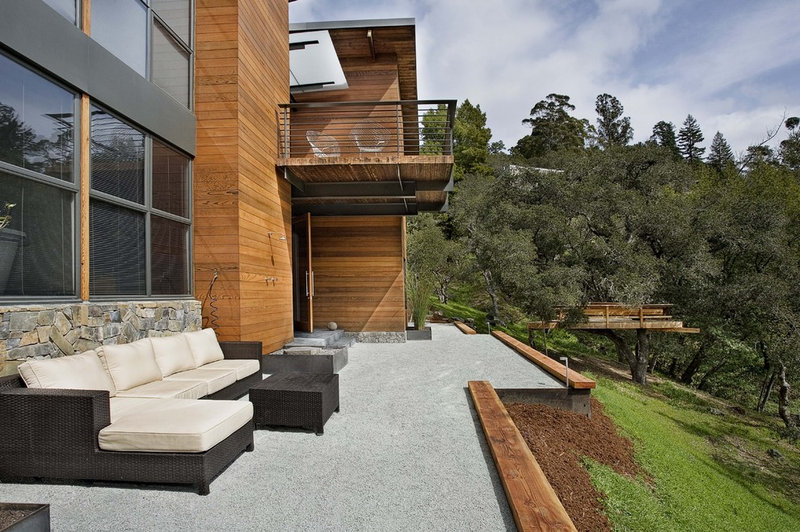
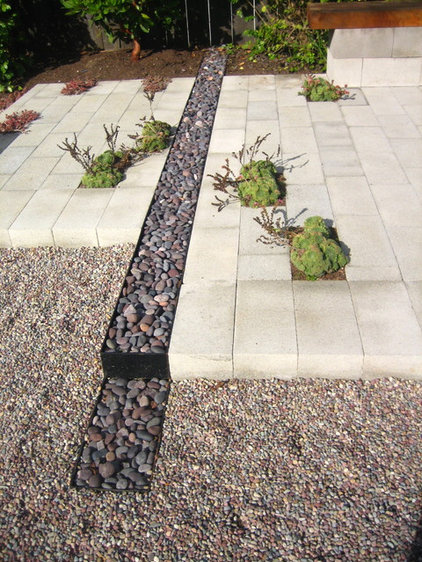
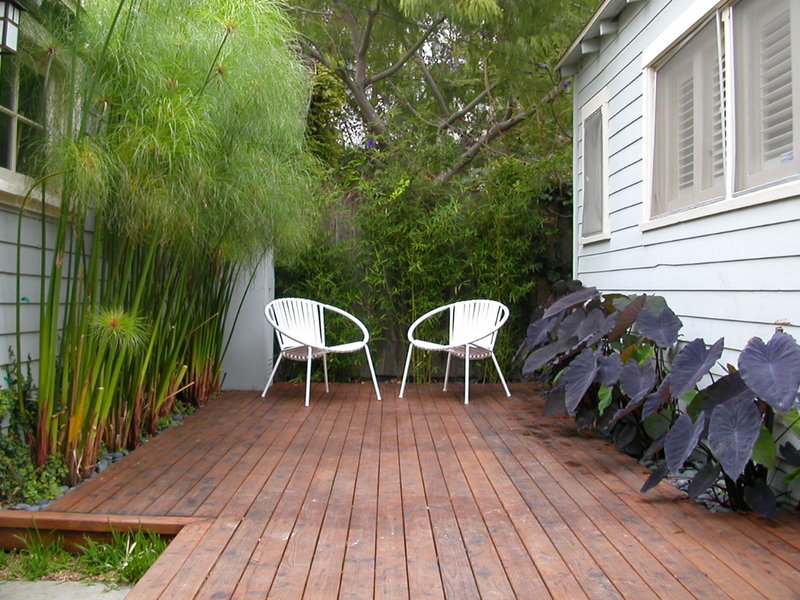
This beautiful patio has just enough stone to provide a clean, modern edge, but a percentage of it is permeable because the center is filled with gravel. modern exterior by Interiors & Architecture Photography by Ken Hayden Interiors & Architecture Photography by Ken Hayden This house has an alternating pattern of stone and grass for an outdoor surface that is 50 percent permeable to allow infiltration of water. traditional deck by austin outdoor design austin outdoor design A good old-fashioned wooden deck is a classic and beautiful example of a pervious surface that can also handle pedestrian traffic, making your garden more livable. modern patio by Quezada Architecture Quezada Architecture In this example the owners have probably saved quite a bit of money over the life span of this deck. Instead of using wooden planks that would need to be refinished and eventually replaced, they’ve used wood to frame a low-maintenance and relatively porous gravel deck. eclectic landscape by Fifth Season Landscape Design & Construction Fifth Season Landscape Design & Construction Paths and Steps 

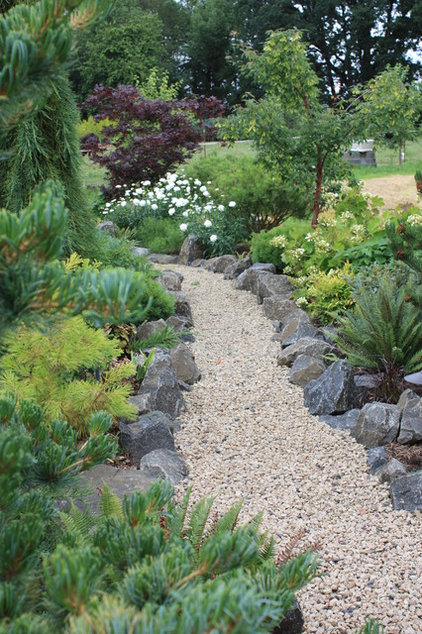
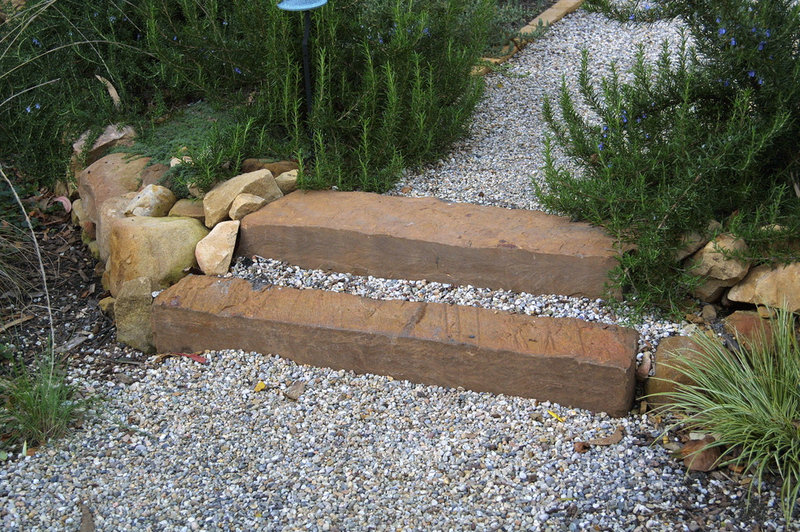
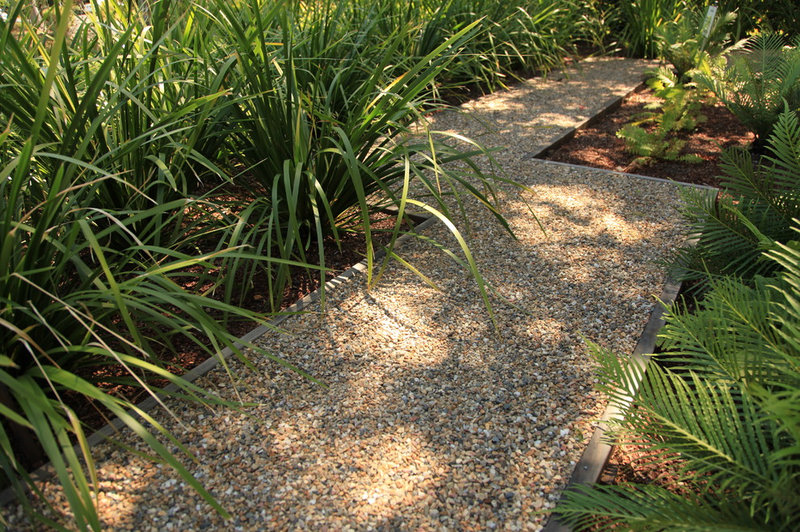
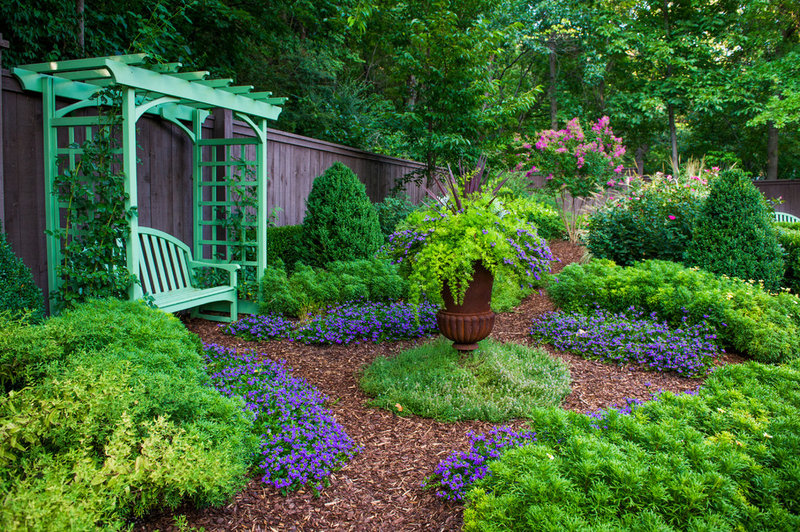
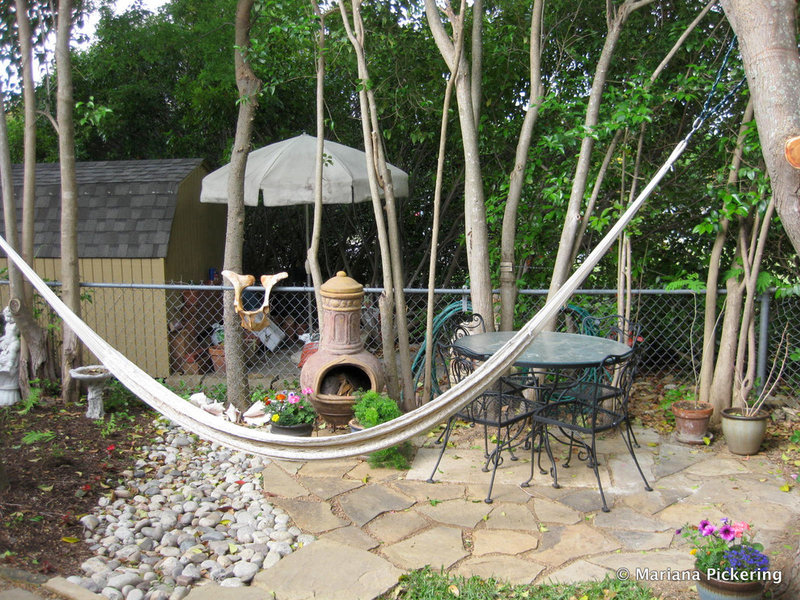
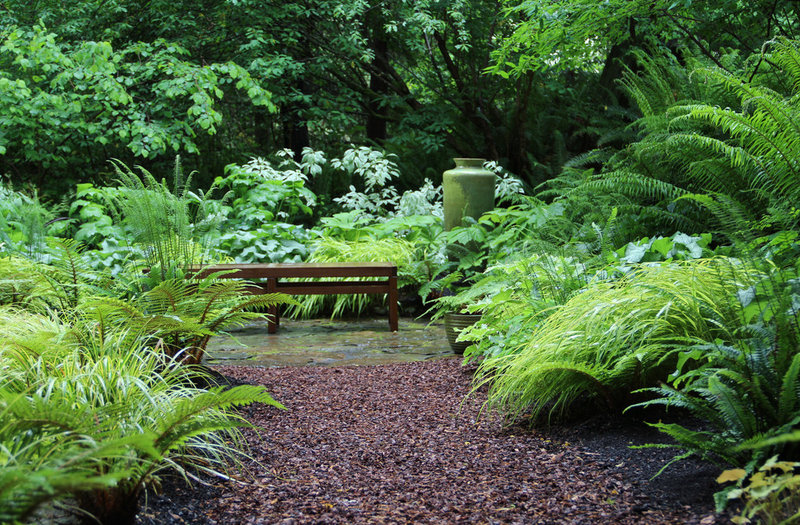
Remember that even with a classic gravel path, properly installing the subgrade, the base course and the surface layer can give you a much more durable result. Instead of just throwing some gravel down in your garden, consult a landscaper to get some good recommendations on plastic grids and fabric backings that discourage weed growth. by Margie Grace - Grace Design Associates Margie Grace - Grace Design Associates A change in grade can often be tricky, so you may want to use the steps as a location for some feature stones while maintaining the gravel look as contrast. mediterranean landscape by The Garden Route Company The Garden Route Company In a similar way, you could use wood or masonry frames to give a cleaner edge to your gravel path in your Gainesville lawn traditional landscape Traditional Landscape Mulch can make for a simple and attractive path if you’d like something softer under your feet. It’s extremely porous and performs surprisingly well, even after quite a bit of traffic. It’s also inexpensive and easy to maintain on your own so that you can enhance your own Gainesville landscape. traditional landscape by Mariana Pickering (Emu Architects) Mariana Pickering (Emu Architects) Back in my mom’s yard, she has revamped the whole backyard on a very tight budget to create more opportunities for stormwater to infiltrate the ground. 

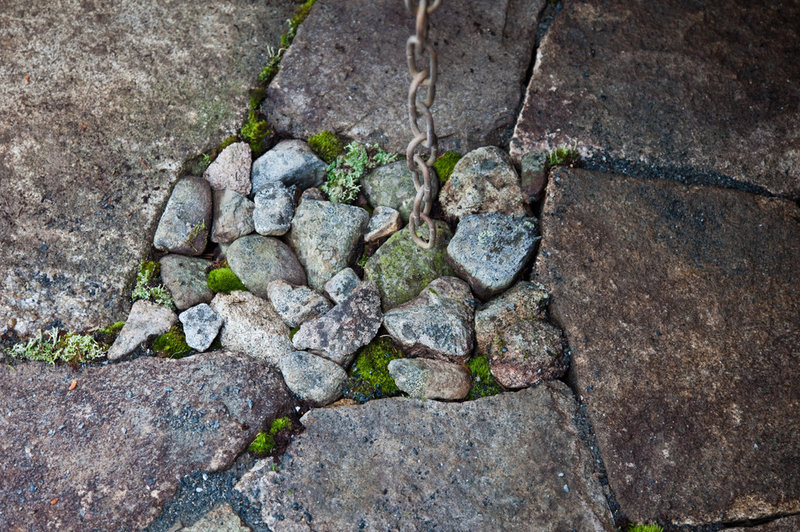
Notice the small area of the garden that resembles a Texas riverbed. It basically is a deeper section of the garden filled with river rock and pebbles, where the stormwater can gather before slowly being absorbed back into the ground. My mom then added a stone path with gravel joints to balance accessibility and permeability.


Tags
By Rusty,
If your poorly drained landscape has kept you from growing your favorite flowers this year, don’t give up on your Gainesville lawn just yet. While it is true that your choices are limited by a garden with “wet feet,” there are many ways to improve your Gainesville landscape's drainage — or even change that curse into a blessing by turning your landscape into a lush and verdant oasis. 

Whether you’re building raised beds and decks to grow the things you love or learning to love your existing situation by making rain gardens draped with ferns and mosses, fall is the ideal time to give your saturated Gainesville landscape a dazzling makeover. Here are 10 ways to do just that. eclectic landscape by Plan-it Earth Design Plan-it Earth Design When we were children, the combination of water and dirt held endless possibilities and hours of enjoyment. It didn’t matter if the two ingredients conspired to form a mud puddle, a ditch or the mother lode: a gurgling brook in the woods. There’s something about moving water that still captivates us to this day. 

For those of us with the “problem” of having too much water, we have the opportunity to channel it into man-made streambeds of rocks, gravel, moss and plants that leave the surrounding Gainesville lawn high and dry. 

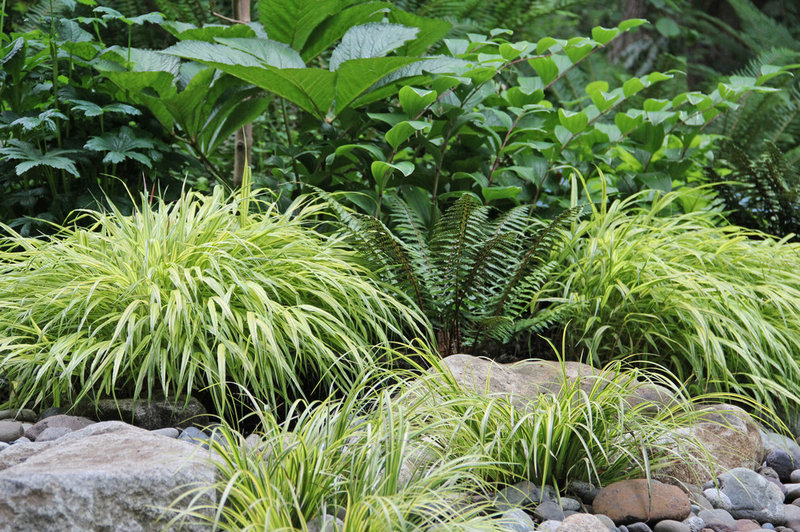
The difference between a mere ditch and a rain garden comes down mostly to the amount of foresight and artistry that you invest in the project. A ditch (also called a swale) is nothing more than a trench dug in the dirt that collects excess water and ushers it away from the house. Unfortunately, ditches are often either choked with weeds, covered in mud or robbed of their soil through erosion. contemporary landscape by Bliss Garden Design Bliss Garden Design 1. Make a rain garden. That’s where  rain gardens come in handy. All it takes to turn an ugly ditch into a rain garden is replacing the grass and weeds with moisture-tolerant plants, rocks and gravel to create a naturalistic-looking stream bed. There will be weeding (as is the case with most gardens), but the gravel and stones will do their part to inhibit weed growth.

The first step is deciding where the water will end up, with downhill being the most obvious answer. Avoid directing water onto another person’s property, as it is an easy way to get on your neighbor’s bad side and end up with a hefty fine in the process. If you have the space, direct the flow of water to a low-lying area of the yard where water typically collects. Then plant that area with perennials and shrubs that can tolerate standing water.

To make the rain garden appear more natural, follow the contours of the land and vary the width of the streambed occasionally. Plant larger accent plants along the edge of the bed where it curves. traditional landscape by Monrovia Monrovia 2. Choose plants that can handle having wet feet. Even if you don’t plant a rain garden, the easiest and most direct option is to use plants that will actually thrive in your conditions. They might be a little harder to find than drought-tolerant plants, but there are lots of possibilities if you know what you’re looking for. 

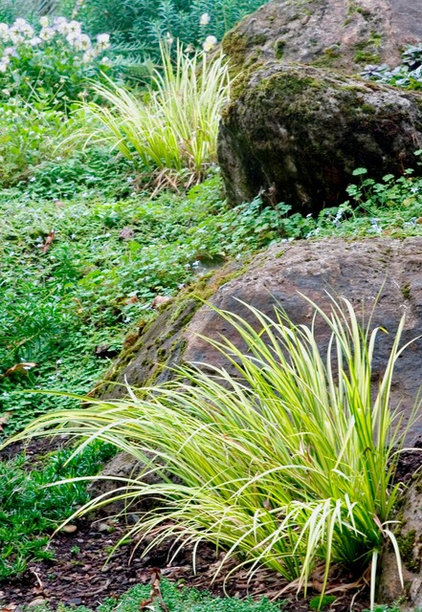
Replace your drowning lawn with moisture-loving ground covers like Evergold sedge (Carex oshimensis ‘Evergold’, USDA zones 5 to 11), sweet grass (Acorus gramineus, zones 6 to 9), spiderwort(Tradescantia virginiana, zones 5 to 10) andspikemoss (Selaginella spp, zones vary). Shrubs like Florida anise (Illicium floridanum, zones 7 to 10), Southern wax myrtle (Myrica cerifera, zones 7 to 10) and hollies (Ilex spp, zones vary) are good choices where height is needed. I’ve also written an ideabook detailing some of the native trees that can stand up to flooding. contemporary landscape by Terra Ferma Landscapes Terra Ferma Landscapes 3. Install a Gainesville French drain. If a rain garden just isn’t right for your lifestyle or the layout of your landscape, a French drain might be the way to go. A French drain is essentially a perforated tube that collects water and distributes it away from a building or poorly drained area. It may be buried in decorative rocks or gravel when used within hardscaping, such as a patio or walkway, or if it needs to travel through the landscape, it may be topped with turf or ground covers to efficiently drain the area without even being visible. 

The downside of Gainesville drainage system is that while rain gardens slow the path of water and absorb it along with fertilizer and pollutants, a French drain sends it off the property and into the watershed. 

Using the two in tandem is another option. A French drain can open up to a rain garden where the water is absorbed, or it can sit at the end of a rain garden to prevent flooding. If possible, work with a landscape architect to determine the best system for your situation. eclectic patio by Susan Cohan, APLD Susan Cohan, APLD 4. Create a killer container garden. If you want to grow vegetables or one of the many other plants that require well-drained soil, planting them in containers along with potting mix will give them the drainage they need to thrive. Any containers will do the trick as long as they have ample drainage holes underneath, but ceramic, terra-cotta and stoneware urns are especially beautiful and can last for generations if protected from the hardest freezes.

Fast-draining and attractive hypertufa pots like the ones shown here can be made by mixing Portland cement, sphagnum and perlite, and casting them into molds. Wooden planter boxes can be fashioned from lumber found at the hardware store. traditional landscape by Plan-it Earth Design Plan-it Earth Design 5. Plant raised beds. If you’d prefer a more cohesive-looking garden than just an assortment of potted plants, you could essentially create one really big container that lifts your garden out of the muck and within easy reach — a raised bed. Though usually built with rectangular frames made of lumber, raised beds can be as fancy as you want them to be, just as long as they’re solidly built for safety. 

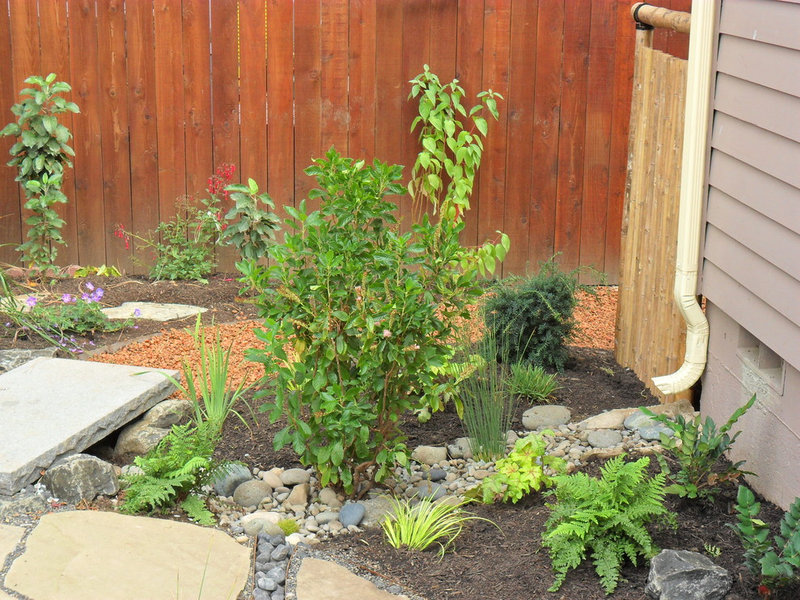
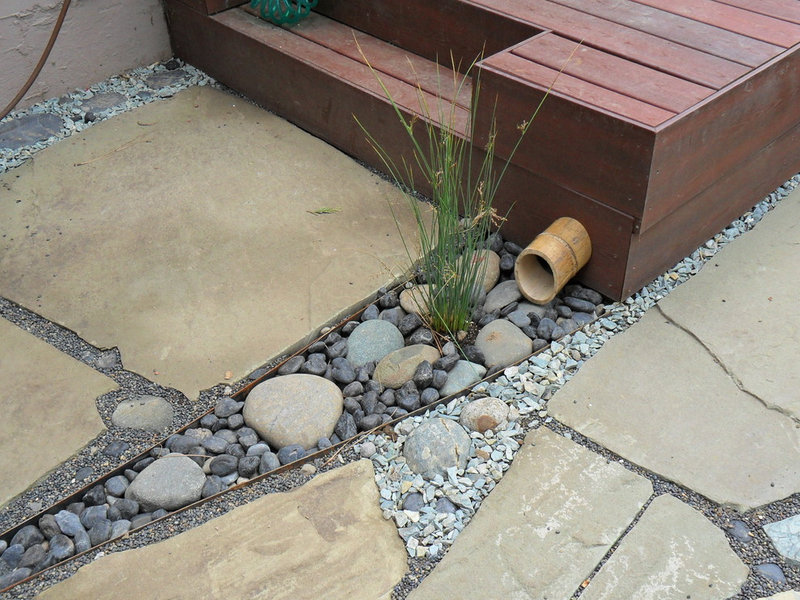
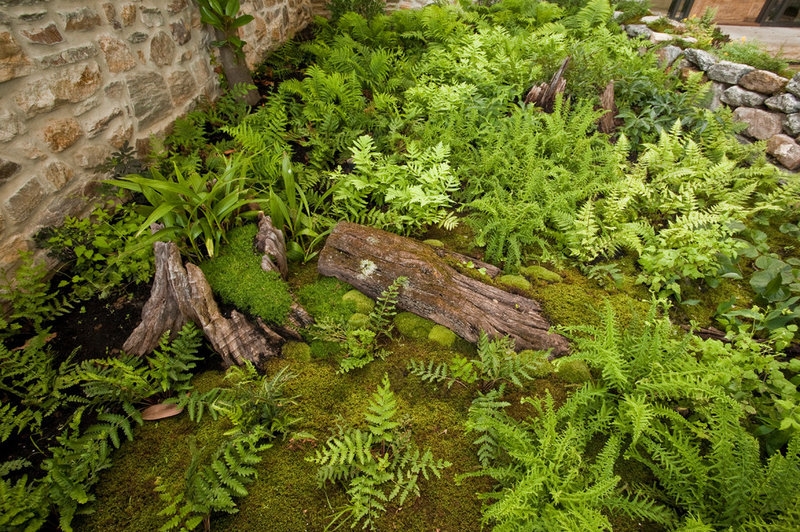
Even if you don’t plan to build a raised bed, you can still build up the soil by amending it with organic matter such as compost. eclectic landscape by Plan-it Earth Design Plan-it Earth Design 6. Give your downspout a makeover. Fountains and waterfalls are popular for the soothing sounds and movement they bring to landscapes, but they can be costly — not to mention a lot of work. Instead, consider utilizing those overlooked downspouts, turning them into a natural water feature that follows nature’s rhythms without adding to your utility bill. Use PVC pipe to collect the water from the gutters and choose an attractive facade for the downspout. The bamboo used here lends an Asian look along with the natural arrangement of rocks, and a single plant is enough to imply the existence of water even in between rains. rustic landscape by Matthew Cunningham Landscape Design LLC Matthew Cunningham Landscape Design LLC 7. Hang a rain chain. Another way to make the most of all that roof runoff involves replacing the downspout with a rain chain; a series of links or cups that channels rainwater attractively as it plummets to the ground. Rain chains bring a touch of artistic whimsy to a garden, to be sure, but they’re all the more appealing for their ability to slow the flow of water from the roof. This helps reduce erosion and increases the likelihood that the moisture will be soaked up by the soil before it drains away from your plants. modern deck by Paradise Design Studio Paradise Design Studio 8. Add a deck. A rain garden is fine and dandy, unless the soggy site in question receives a lot of foot traffic. If that’s the case, the first thing you should do is use the methods outlined above to drain water away from your house’s foundation. Then construct a deck that will allow you to enjoy your lush and watery garden without getting your shoes all muddy in the process. Wood planks may also be used to replace your puddly paths with boardwalks and bridges. Not only is this practical, but it really elevates the look of your garden and makes it much more inviting to guests. To keep them from accidentally walking off the ledge, install lighting to illuminate the way and include guardrails where the deck sits 30 inches or more off the ground. contemporary landscape by Bliss Garden Design Bliss Garden Design 9. Replace mud with gravel. Decks or boardwalks are worthwhile investments, to be sure, but they aren’t for everyone, and the costs can certainly add up. Luckily you can also solve the puddle problem by laying paths and patios with gravelpavers and stone. An especially attractive solution is to lay large pavers or flagstones with gravel or stones filling the spaces between. This has slows people’s paces as they step over the gaps, and it also gives water a place to permeate and drain away. Permeable bricks and pavers are good solutions for driveways and patios, because they provide solid footing while allowing water to drain through the gaps. traditional landscape by ZH Design ZH Design 10. Lose the Gainesville lawn and say hello to moss. Finally, I would like to encourage you to make friends with moss. It’s soft, treadable and easy to establish as an alternative to turfgrasses in areas where it’s too shady or wet for them to grow; but mostly you should try growing moss because of the profound beauty it brings to whatever it envelops. Most wet sites already have colonies of moss hiding under the weeds, but you can help it get the upper hand by removing the weeds, dividing and pinning the moss to the ground, and watering it until established. Moss is notoriously slow growing, but you can get a head start by purchasing some from Moss Acres or Moss and Stone Gardens.


Tags